K.I.T.T. Scanner Arduino Replica Build!
In my opinion Knight Rider has to be one of the best series of all time! There was one channel that played all episodes a few years ago, I still remember coming home from school and immediately turning on the TV to watch the latest episode like it was yesterday. Now, because Knight Rider was very impactful for me, I always played with the thought of having my own K.I.T.T. - and I bet I'm not the only one!
All of this was some years ago and unfortunately I still don't have a car yet, so I had to change my idea up a little. Instead of a car, I've chosen my mountainbike as the vehicle.
If you want to build your own scanner light bar too, here's what you will need:
- 1x aluminium U-channel
- Any 12V or less power source
- 1x Arduino UNO
- 8x ws2812b programmable LEDs
- Some jumper wires or a soldering iron
- Black paint or electrical tape
Lets start with programming our lights. If you haven't already, get the latest version of Arduino IDE and download the NeoPixel libary, this will make it way easier to tell our LEDs where and when to shine!
We will begin by telling the arduino what pin our wb2812b LEDs are connected to and how many of them we have:
            #include

            #define PIN 6
            #define NUMPIXELS 8

            Adafruit_NeoPixel pixels = Adafruit_NeoPixel(NUMPIXELS, PIN, NEO_GRB + NEO_KHZ800);
With arduinos you have two main segments, the setup, which happens only once after you turn it on and the loop, which like the name says repeats the code you put in over and over again.
That means the setup segment is perfect for a small boot up sequence in which all LEDs light up at once. This is optional, but I like to experiment around!
            void setup() {

              pixels.begin();

              for (int brightness = 0; brightness <= 255; brightness += 15) {
                for(int i = 0; i < NUMPIXELS; i++) {
                  pixels.setPixelColor(i, pixels.Color(brightness, 0, 0));
                }
                pixels.show();
                delay(40);
              }

              pixels.clear();

              pixels.show();
              delay(500);

            }
Now for the smooth effect, I'm sure they either used capacitors or I'm not old enough to know that light bulbs actually take that long to stop glowing. So to mimic that, I've set a fadeFactor that lets the LED dim out instead of turning off instantly.
The delayTime is important for how fast your LEDs will move. You need to set this value for yourself, it really depends on how much distance you have between your LEDs:
            void loop() {
              static float brightness[NUMPIXELS] = {0};
              const float maxBrightness = 255.0;
              const float fadeFactor = 0.50;
              const int delayTime = 90;
Here we make the first LED light up the most and let it move from left to right and back. The LEDs behind the first one slowly loose power as the fadeFactor dims them out. If you were to imagine their brightness, it would look like a stair with the top being the first LED.
At the moment, all LEDs would be white, because I wanted to be able to change the color quick. With setPixelColor I get from white to whatever RGB values I put in it:
              for (int i = 0; i < NUMPIXELS * 2 - 2; i++) {
                int pos = i < NUMPIXELS ? i : (2 * NUMPIXELS - 2 - i);

                brightness[pos] = maxBrightness;

                for (int k = 0; k < NUMPIXELS; k++) {
                  if (k != pos) brightness[k] *= fadeFactor;

                  if (brightness[k] < 1) brightness[k] = 0;

                  pixels.setPixelColor(k, pixels.Color((int)brightness[k], 0, 0));
                }

                pixels.show();
                delay(delayTime);
              }
            }
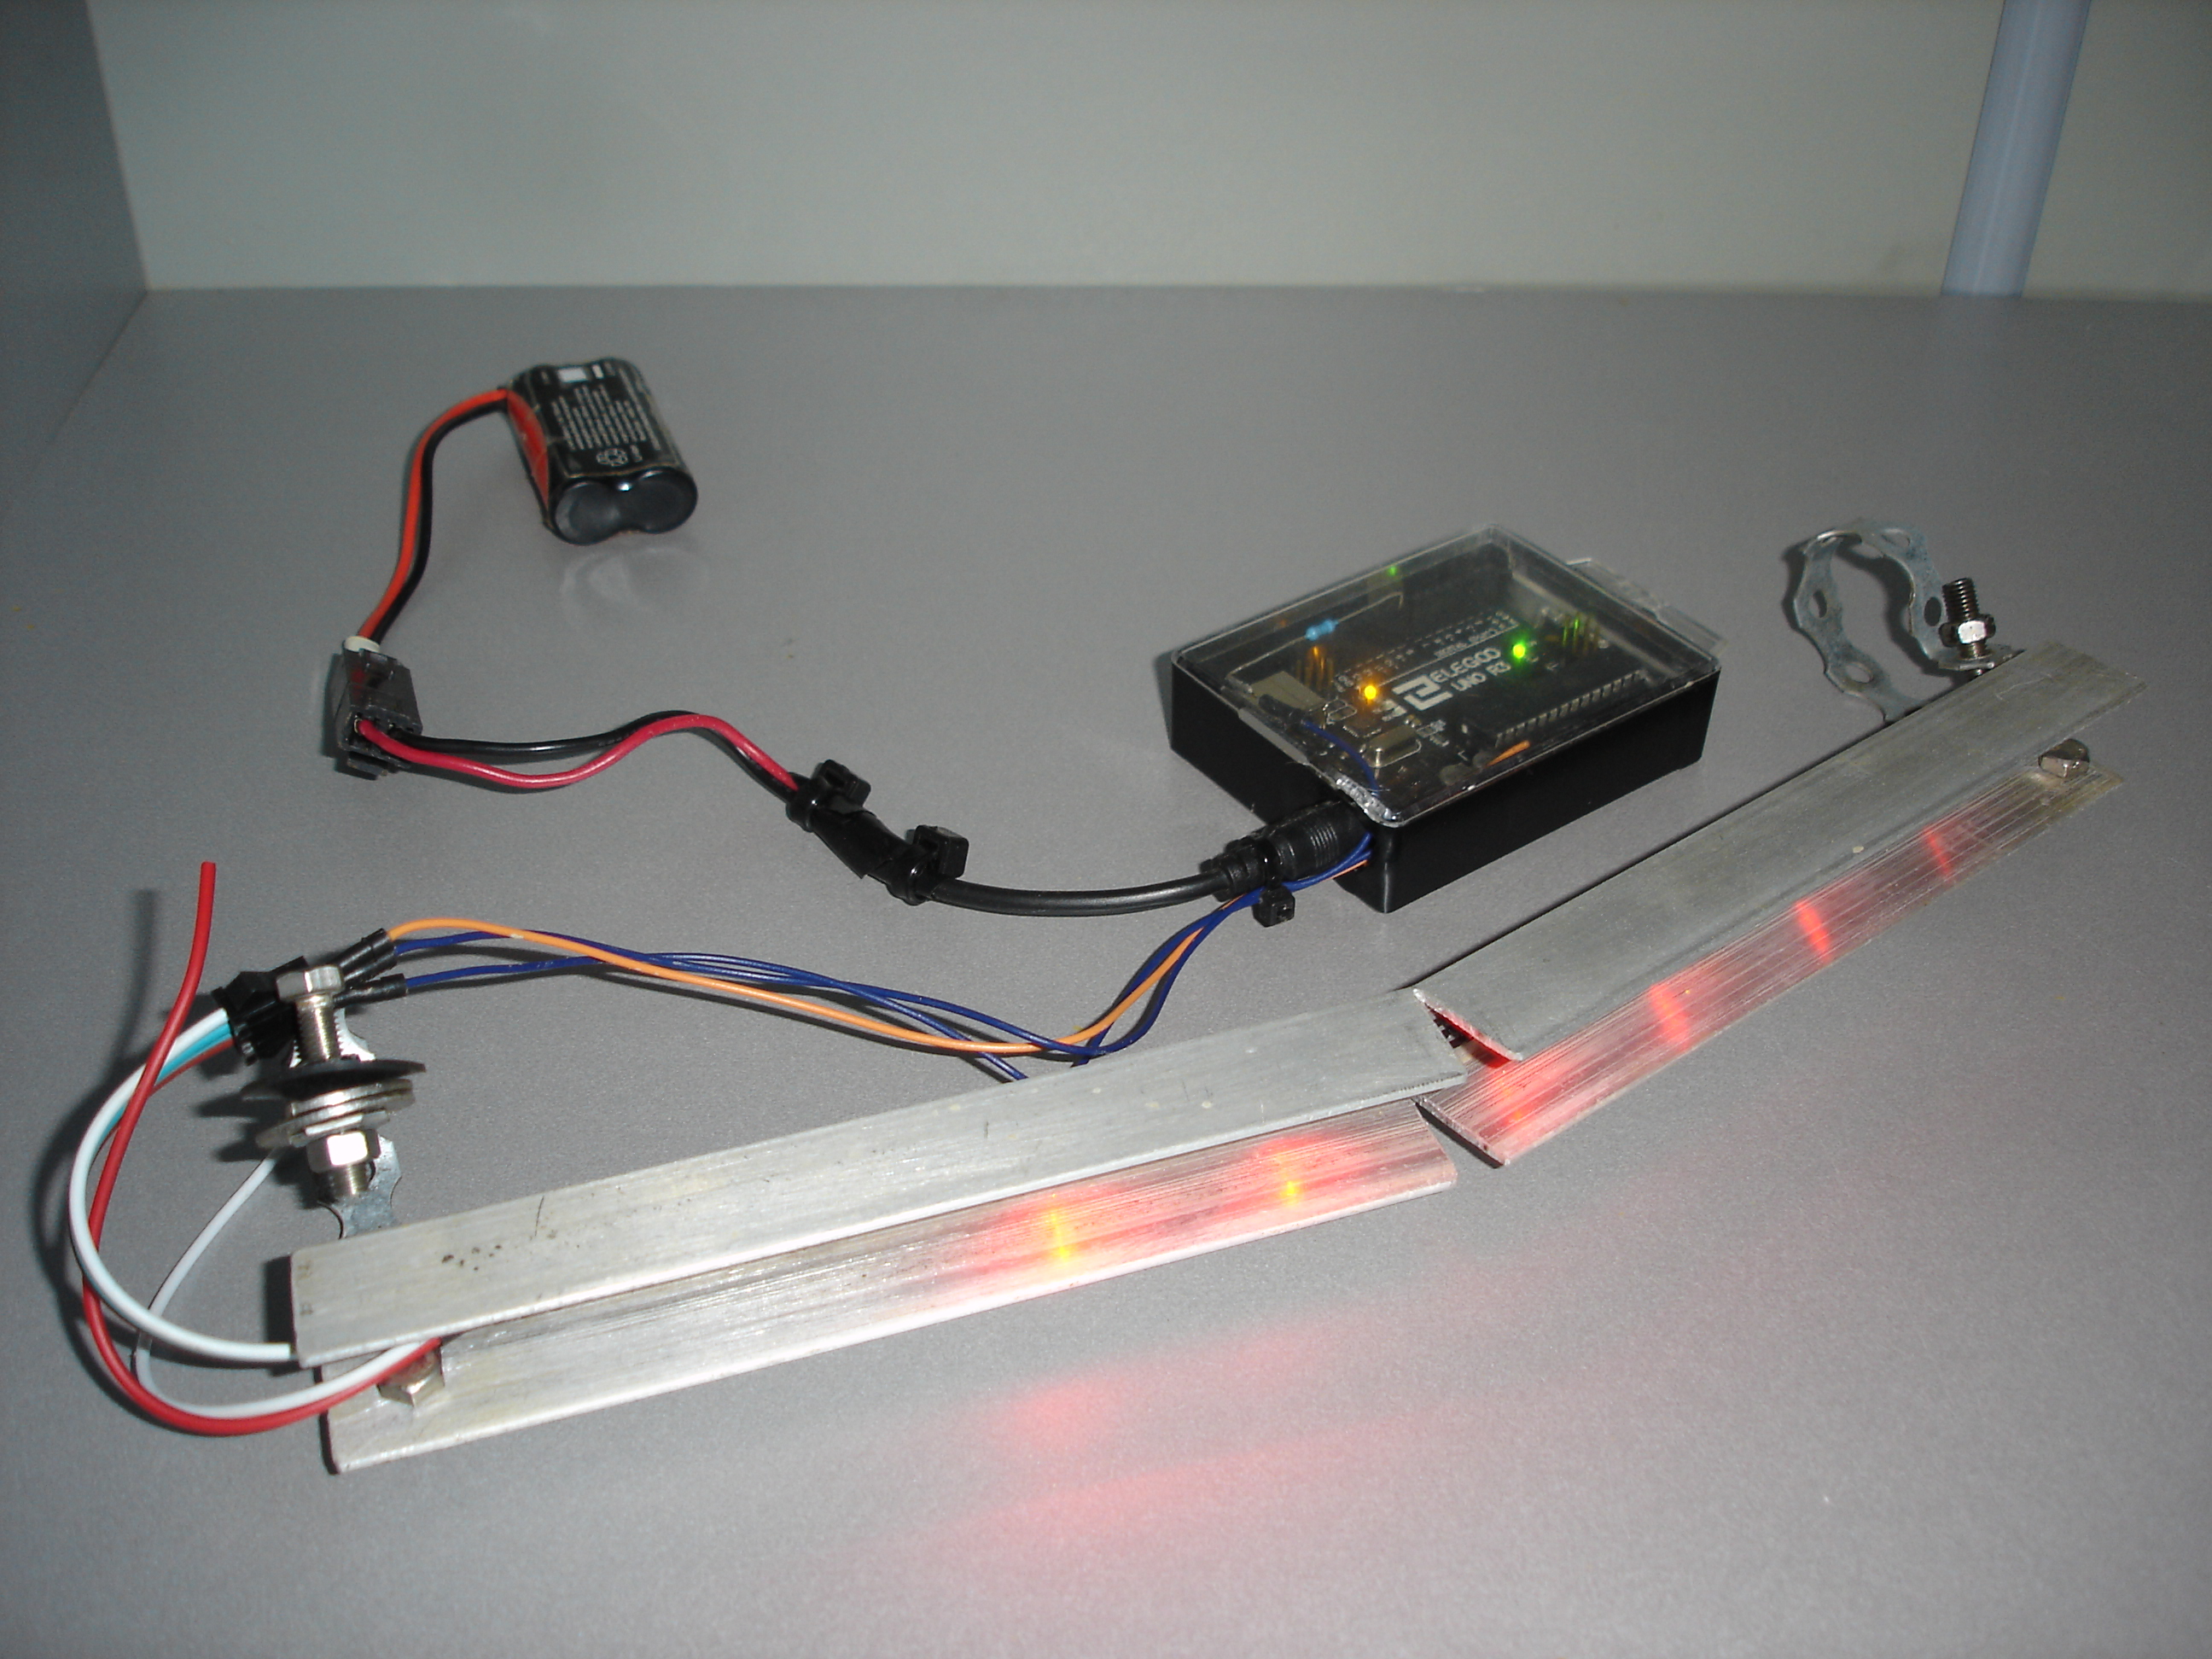
Now that your LEDs are programmed, you can place them in your U-channel. Just like the original I had to bend it a little with help of a triangle cutout on both sides, maybe you can come up with a better solution.
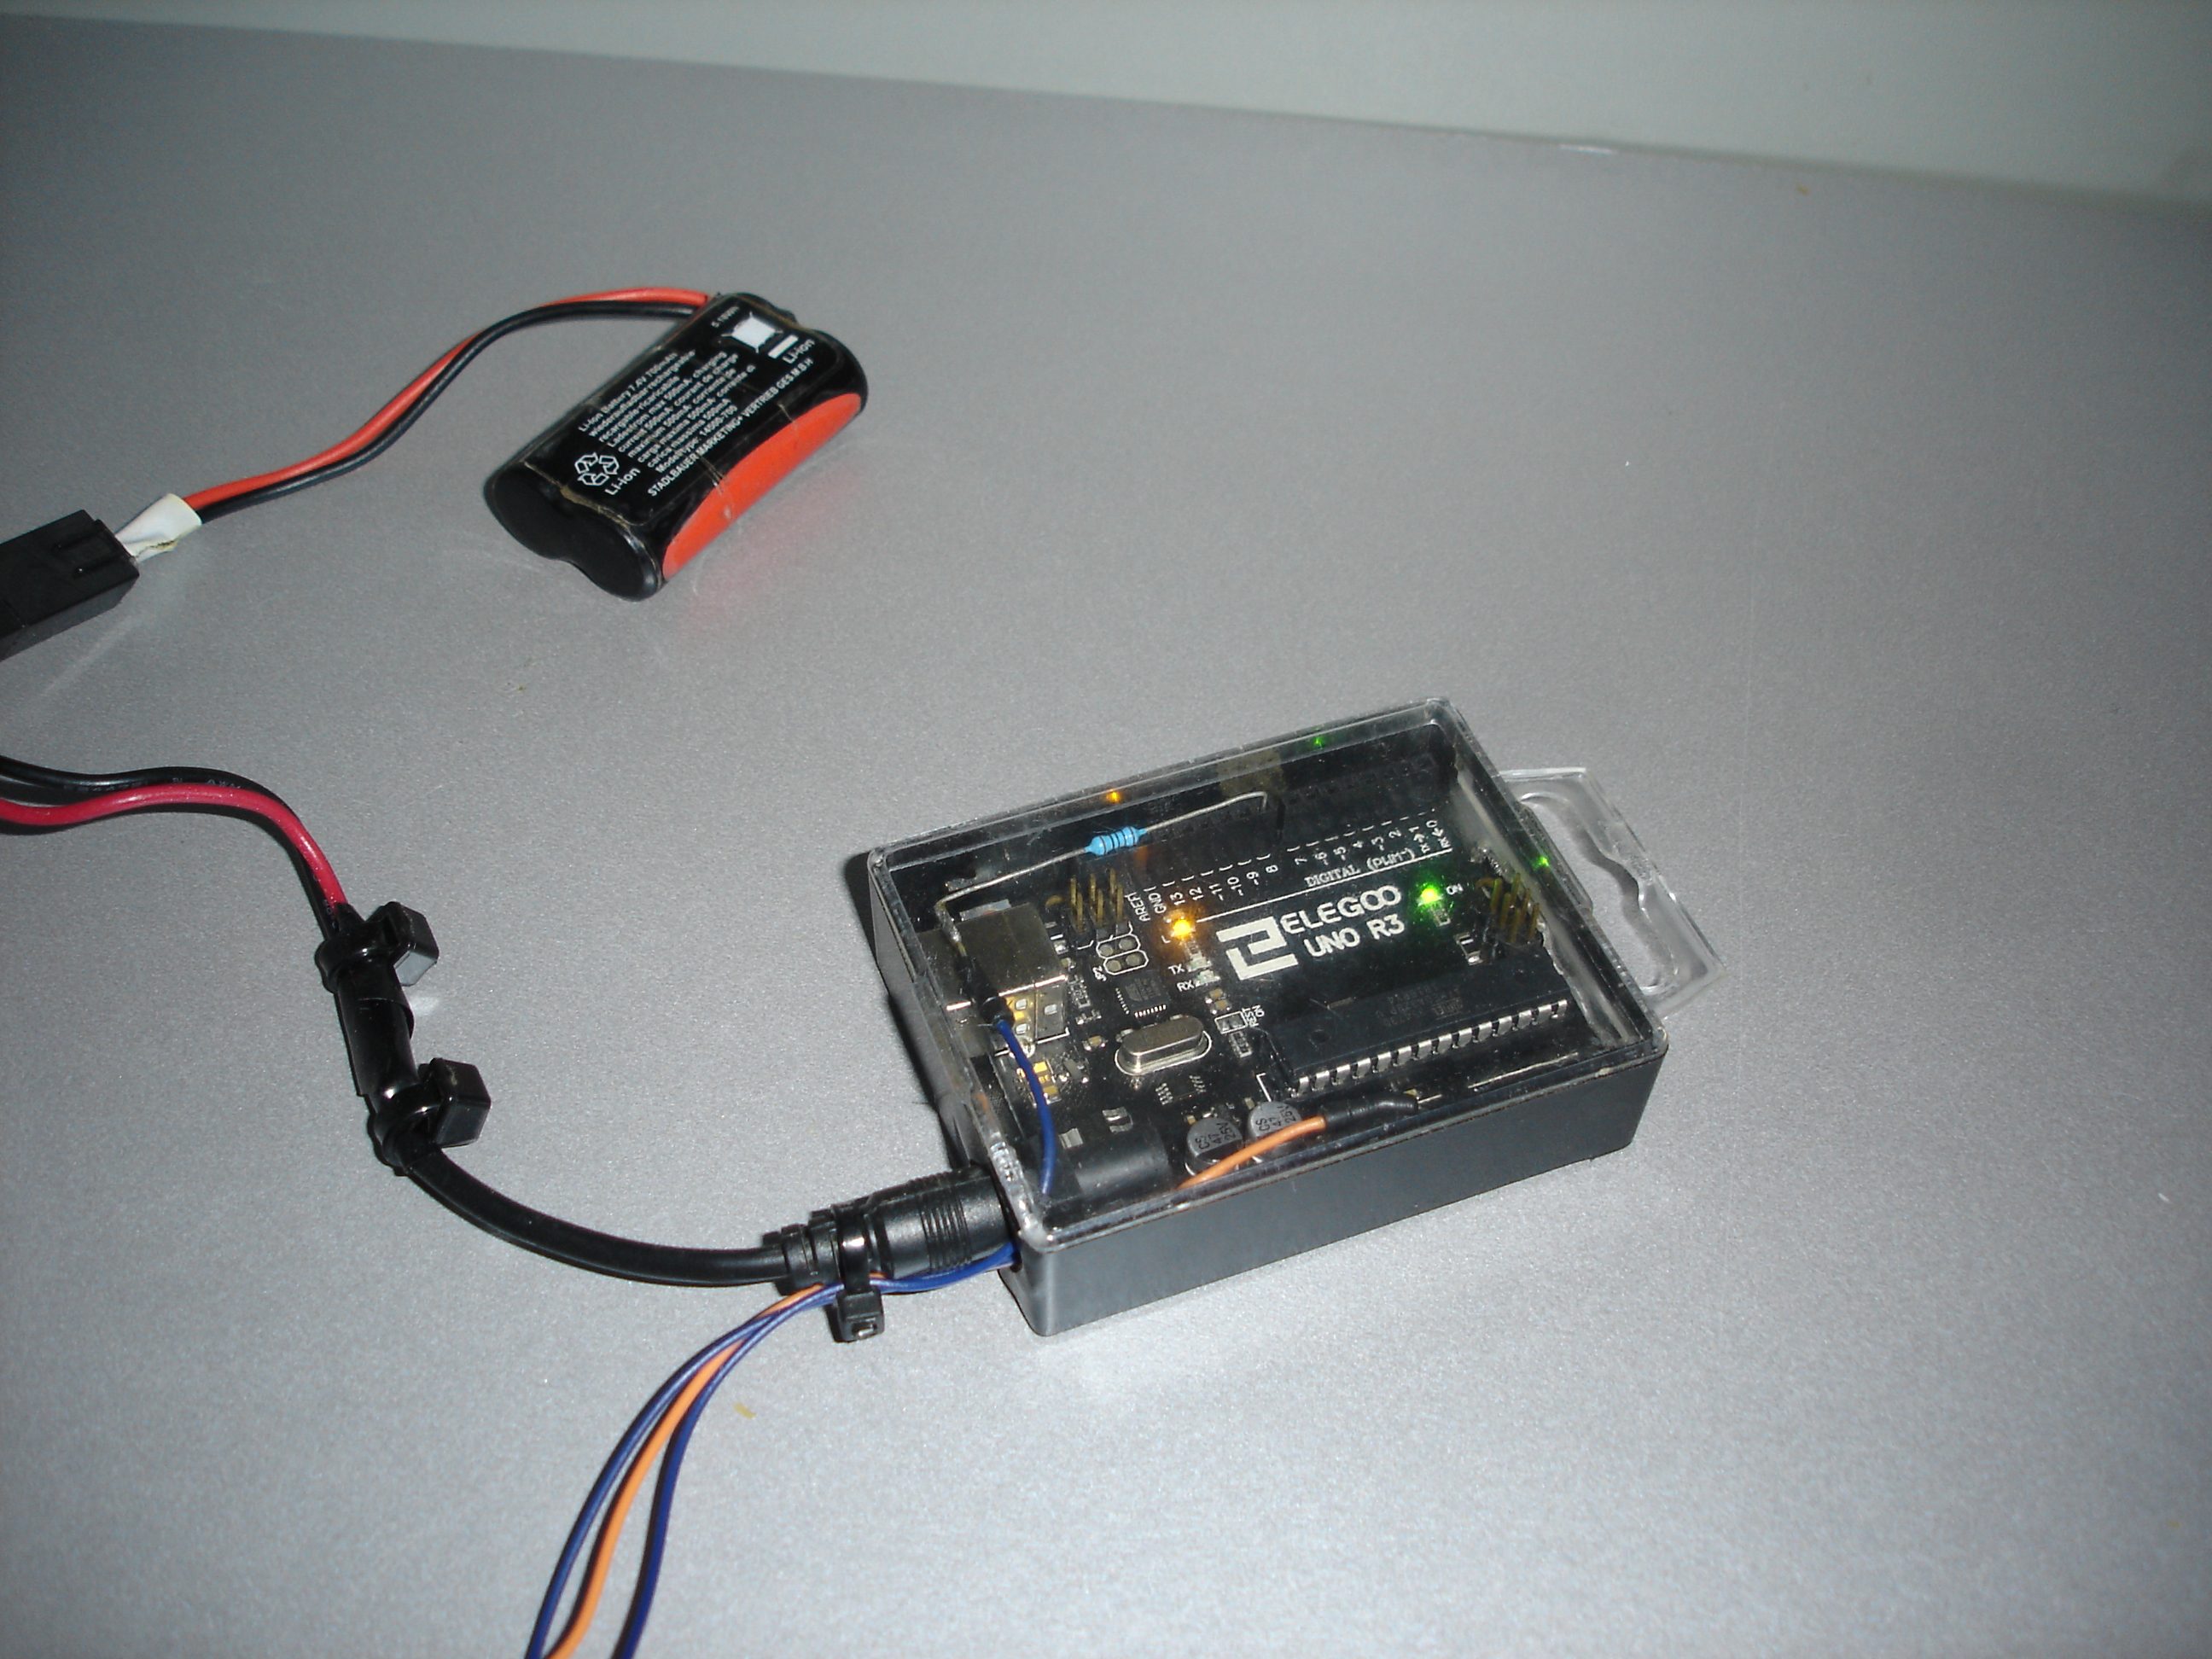
After that you can already connect your 12V battery (I used a 7.4V battery from an RC car and it works fine), and make sure to use a resistor on ground!
Also an old thumbtacks box after a small cutout is perfect for not only looks but even making your Arduino waterproof! Then it's just a matter of drilling some holes in your U-channel and mounting it to your vehicle!
Congratulations, you should now have a cool light bar!
▶ Feel free to use my code and modify it how you like!